February 22, 2024
Chris Knop
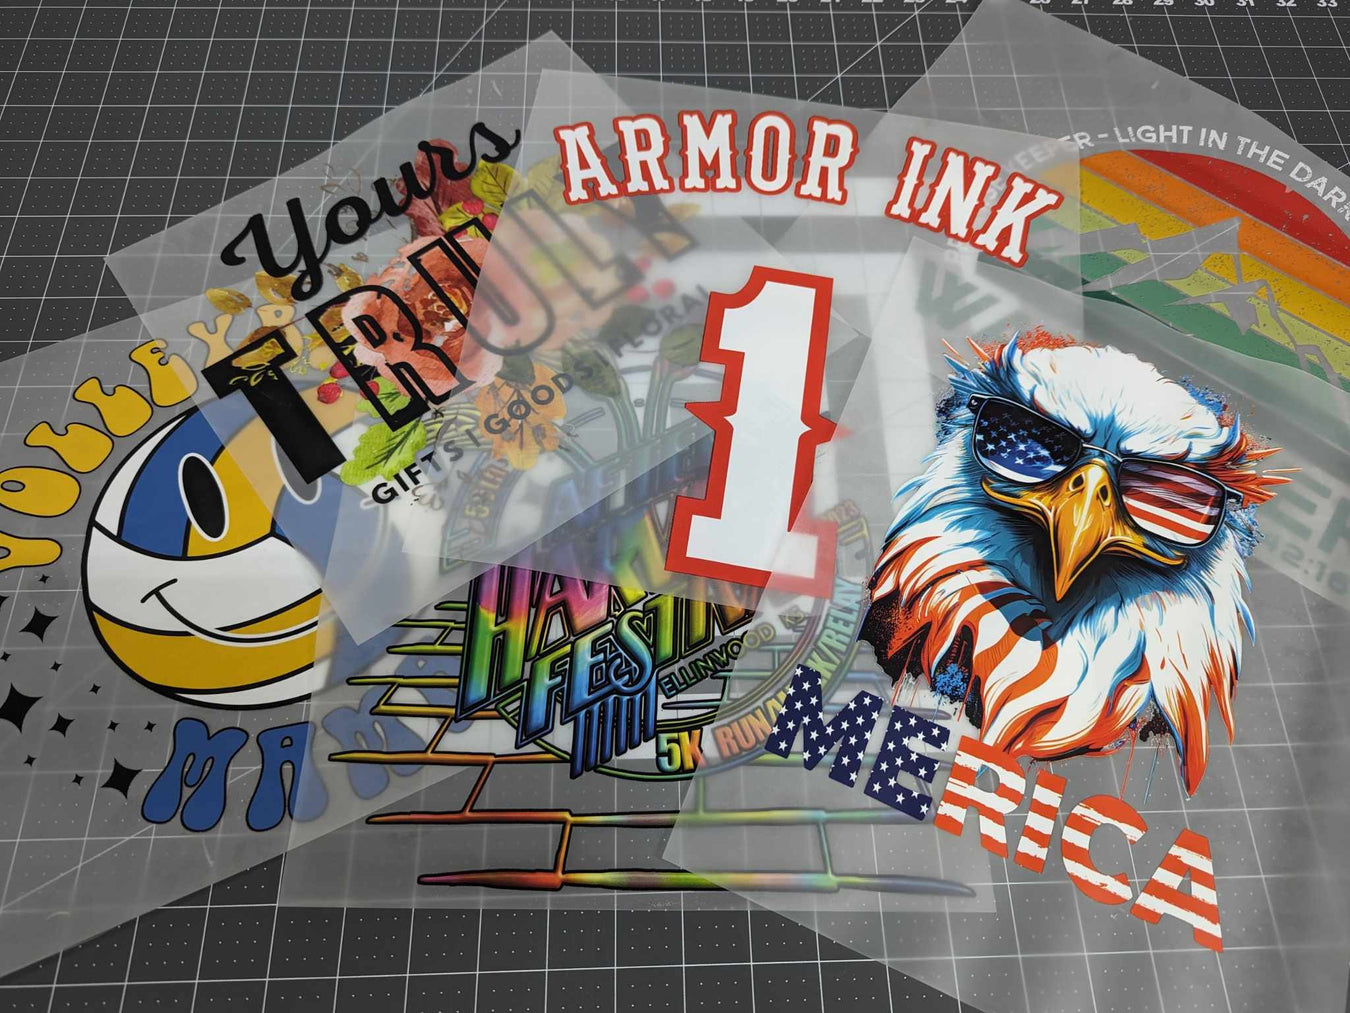
How To Press A Direct-To-Film (DTF) Transfer
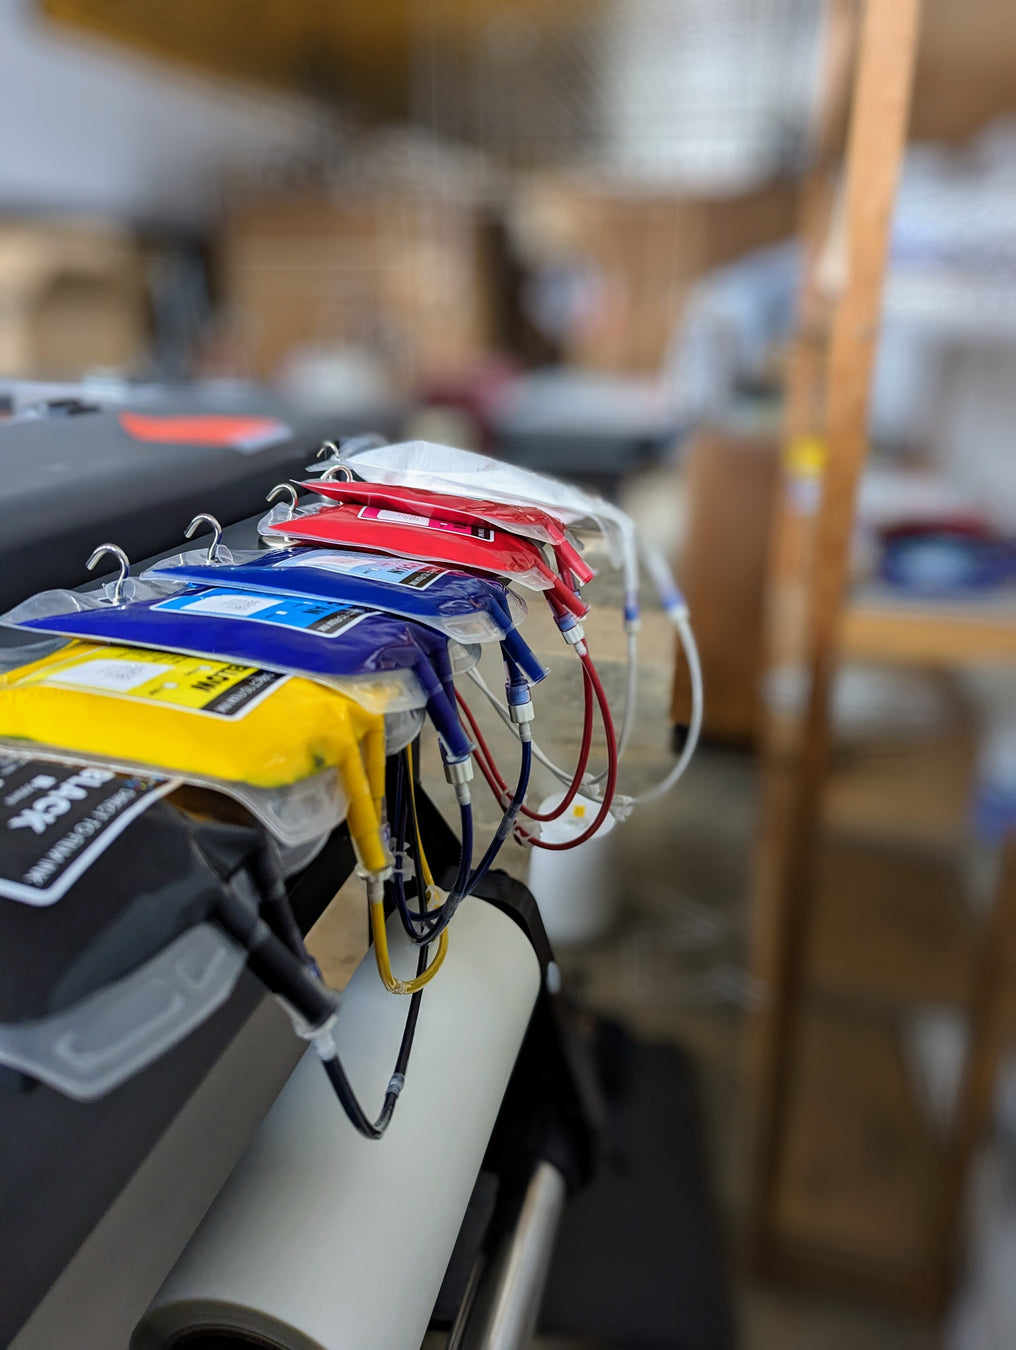
Direct-To-Film (DTF) printing is revolutionizing the world of textile decoration, offering unprecedented flexibility and quality in design transfer. However, to harness the full potential of DTF technology, mastering the pressing process is crucial. Armor Ink is here to guide you through the nuances of pressing Direct To Film transfers, ensuring that your designs not only look spectacular but are also durable. Let’s delve into the step-by-step process, enriched with professional tips and additional insights to elevate your DTF pressing skills.
Preparing for Perfection: The Pre-Press
Before diving into the heart of the pressing process, setting the stage correctly can make all the difference in achieving flawless results. Here’s how to prep with precision:
- Temperature Adjustment: Start by setting your heat press to the right temperature. This varies based on the fabric type — 300°F for 100% cotton, 260°F for 100% polyester, and 280°F for blends. Getting the temperature right is the foundation of a successful transfer.
- Lint Rolling: A clean surface is paramount. Use a lint roller on the pressing area of your garment to remove any stray fibers. This seemingly small step prevents imperfections and ensures a clean, crisp transfer.
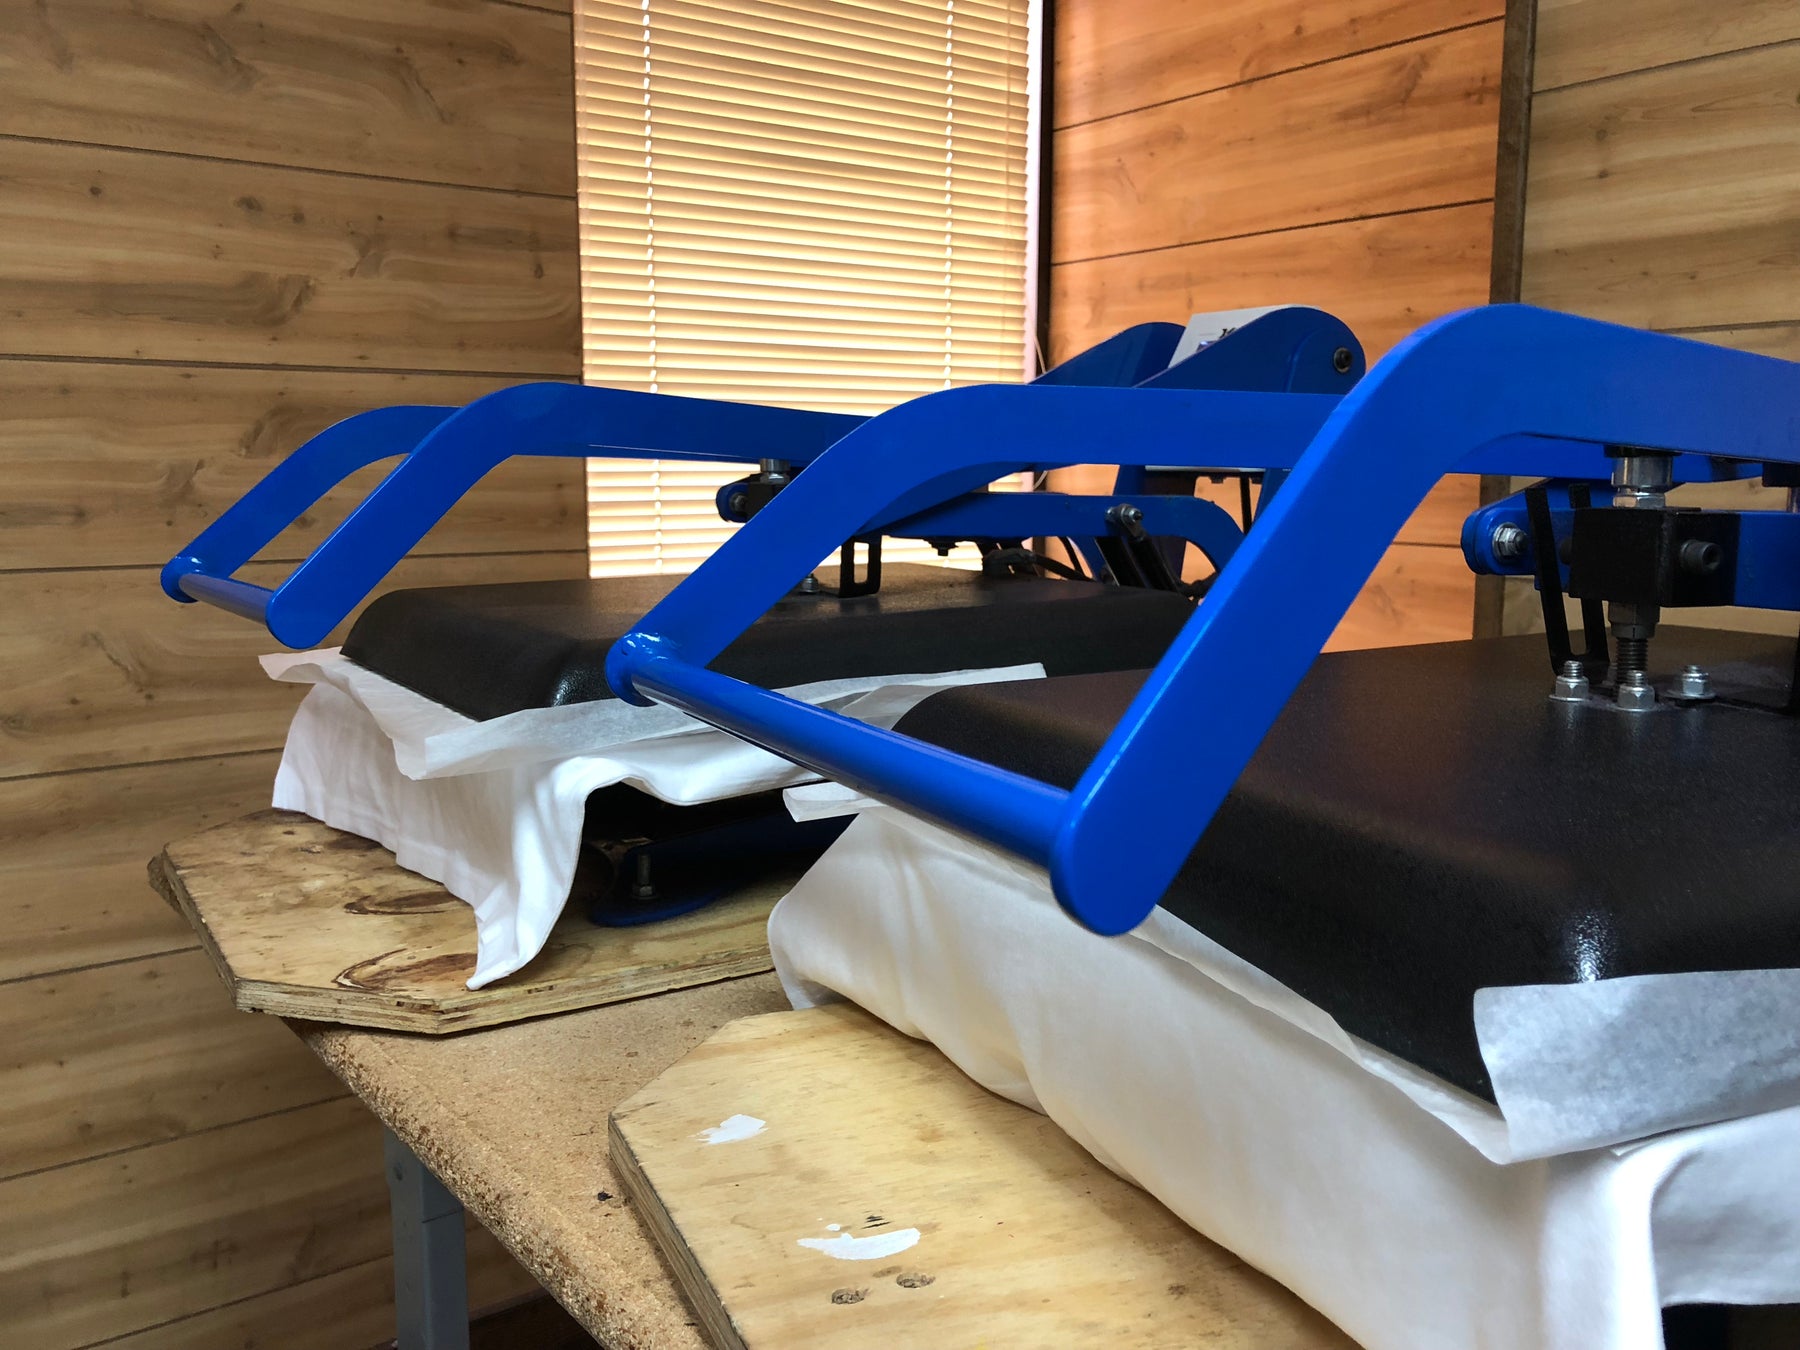
- Pre-Pressing: Lay your garment on the heat press and apply pressure for 5-10 seconds. This step removes any wrinkles and moisture, creating an ideal surface for the DTF transfer. While not always necessary, it’s a game-changer for garments stored in damp conditions or those with stubborn wrinkles.
The Main Event: 1st Press
Now that your canvas is prepped and ready, it’s time to bring your design to life:
- Positioning the Transfer: Place the Direct To Film transfer carefully onto your garment, aligning it precisely where you want the design to appear. For challenging items like hats, securing the transfer with heat-resistant tape can prevent any unwanted movement. For flat garments, alignment should be straightforward without the need for tape.
- Pressing: Apply heavy pressure at the material-specific temperature for 10-14 seconds for cotton and blends, or 3-10 seconds for polyester. This is where the magic happens, and your design begins its permanent bond with the fabric.
- Test Press: If you’re working with a new material, doing a test press is wise. This allows you to adjust your settings to find the perfect balance of heat, pressure, and time for your specific setup.
Peeling and Troubleshooting: Hot/Cold Peel
- Peeling: Let the garment cool for 15-30 seconds before peeling the film from one corner. If the film resists, let it cool completely before attempting again. This patience ensures a clean removal and perfect adhesion.
- Troubleshooting: If the transfer doesn’t stick, it’s likely a matter of insufficient pressure, heat, or time. Re-press with gradually increased heat and pressure. Remember, it’s better to press a second time than to settle for an improperly adhered DTF transfer.
The Finishing Touch: 2nd Press
- Final Press: Cover the newly transferred design with parchment paper and press again for 10-14 seconds (cotton and blends) or 3-10 seconds (polyester). This step enhances durability, reduces shine, and integrates the design more seamlessly into the fabric. For those who love a glossy finish, a Teflon sheet can be used instead.
- Quality Check: A successful transfer will show fabric texture through the design, indicating perfect adhesion.
Wrapping Up
Congratulations! With these detailed steps and professional tips, you’re well on your way to mastering DTF transfers. Remember, the process isn’t just about pressing; it’s about precision, care, and a bit of creativity. Whether you’re creating custom apparel, unique home decor, or personalized accessories, these techniques will ensure your designs stand out in durability, quality, and style.
DTF technology is not just transforming the textile industry; it’s giving creators the power to bring their visions to life with ease and efficiency. Armor Ink is proud to be your partner in this creative journey, offering the tools and insights you need to excel. Keep experimenting, refining your technique, and watching your designs come to life, one press at a time.